Adding a Client
You can add a client in three different ways, depending on how the interaction with the client occurred. Each process ensures that the client's data is stored in the database and available for further processing.
1. Directly from the Client Overview
- In the client overview, click on "Add Client".
- A form will open where you enter the basic client information:
- First and last name
- Phone number and/or email address: Contact details for communication
- Client's language: Set the language in which the client wants to receive notifications
Comment: Record any special notes, preferences, or requests from the client. - After entering the data, click "Save" to add the client to the database.

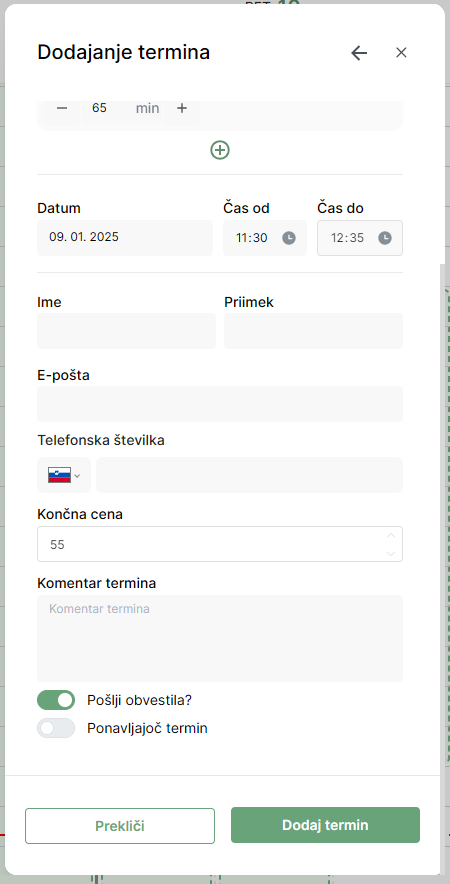
2. Through the Calendar
- When adding a new appointment in the calendar, enter the client’s details:
- First name, last name, and contact information - These details will automatically be saved in the client overview, so no additional manual input is required.
- This method is suitable for quickly adding new clients who have booked an appointment directly in the business or by phone.
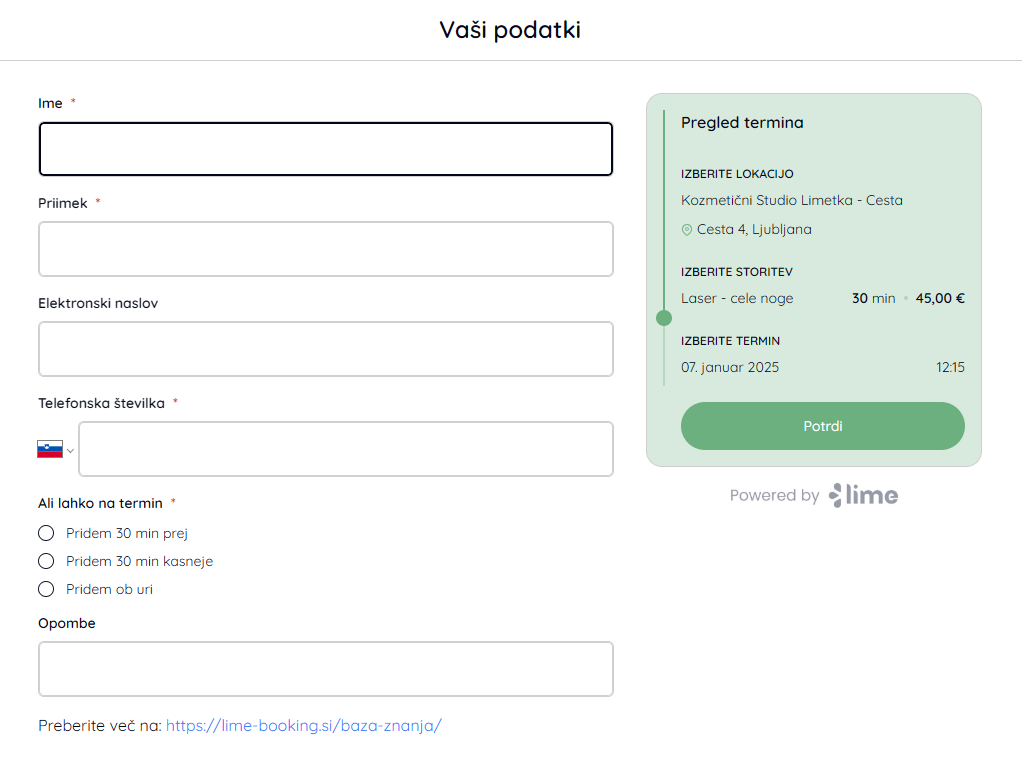
3. When the Client Registers Online
- When a client makes a reservation through the online form, they fill in all required information, such as:
- First and last name, contact details, and any additional information. - Once the client submits the form, this data is automatically saved in the client overview.
- This method is the fastest and requires no additional effort, as the client enters their own data.